The short version.
- It’s incredible easy to access an AWS EC2 instance using Cyberduck
- Cyberduck is a popular FTP, SFTP, WebDAV, S3 & Openstack Swift browser for Mac & Windows (it was originally for Mac only so is popular amongst Mac users)
- All you need us the Public DNS of your EC2 instance and .pem file (public key) which you will have received when you created your EC2 instance
The detail.
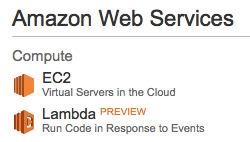
Log in to your AWS console and click on “EC2”
Click on your instances.
Take the “Public DNS” data from the “Public DNS” column.
It will be formatted something like this:
ec2-XX-XX-XXX-XX.eu-west-1.compute.amazonaws.com
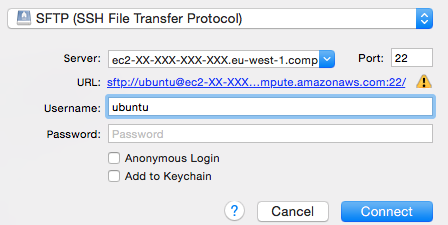
Open Cyberduck and click on “Open Connection”
Then enter the “Public DNS” of your EC2 instance into the “Server” field in Cyberduck and the “Username”
Top tip.
If you have a Linux instance running, you will need to use “ec2-user” as the “Username” in Cyberduck.
If you are using Ubuntu, then you need to use “ubuntu” as the “Username”
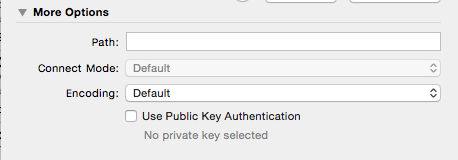
Next you need to check the “Use Public Key Authentication” checkbox. When you do this you will see the option to choose the file from your computer. You are given this .pem file when you create your EC2 instance.
Select the .pem file from the location you saved it then click “Connect”.
You will then see you have access to the files on you EC2 instance in AWS.


